Prerequisites
Harvestree is powered by thermal energy harvesting. A temperature gradient of about 10°C or more between the mounting surface and ambient air is required for autonomous operation. Alternatively, the unit can be powered via USB for initial setup, pre-charging the energy storage, or charging (see product notice for variants with supercapacitor or battery). USB can be used before final installation to pre-charge, then configure and calibrate with Harvestree Toolbox while still on the bench.
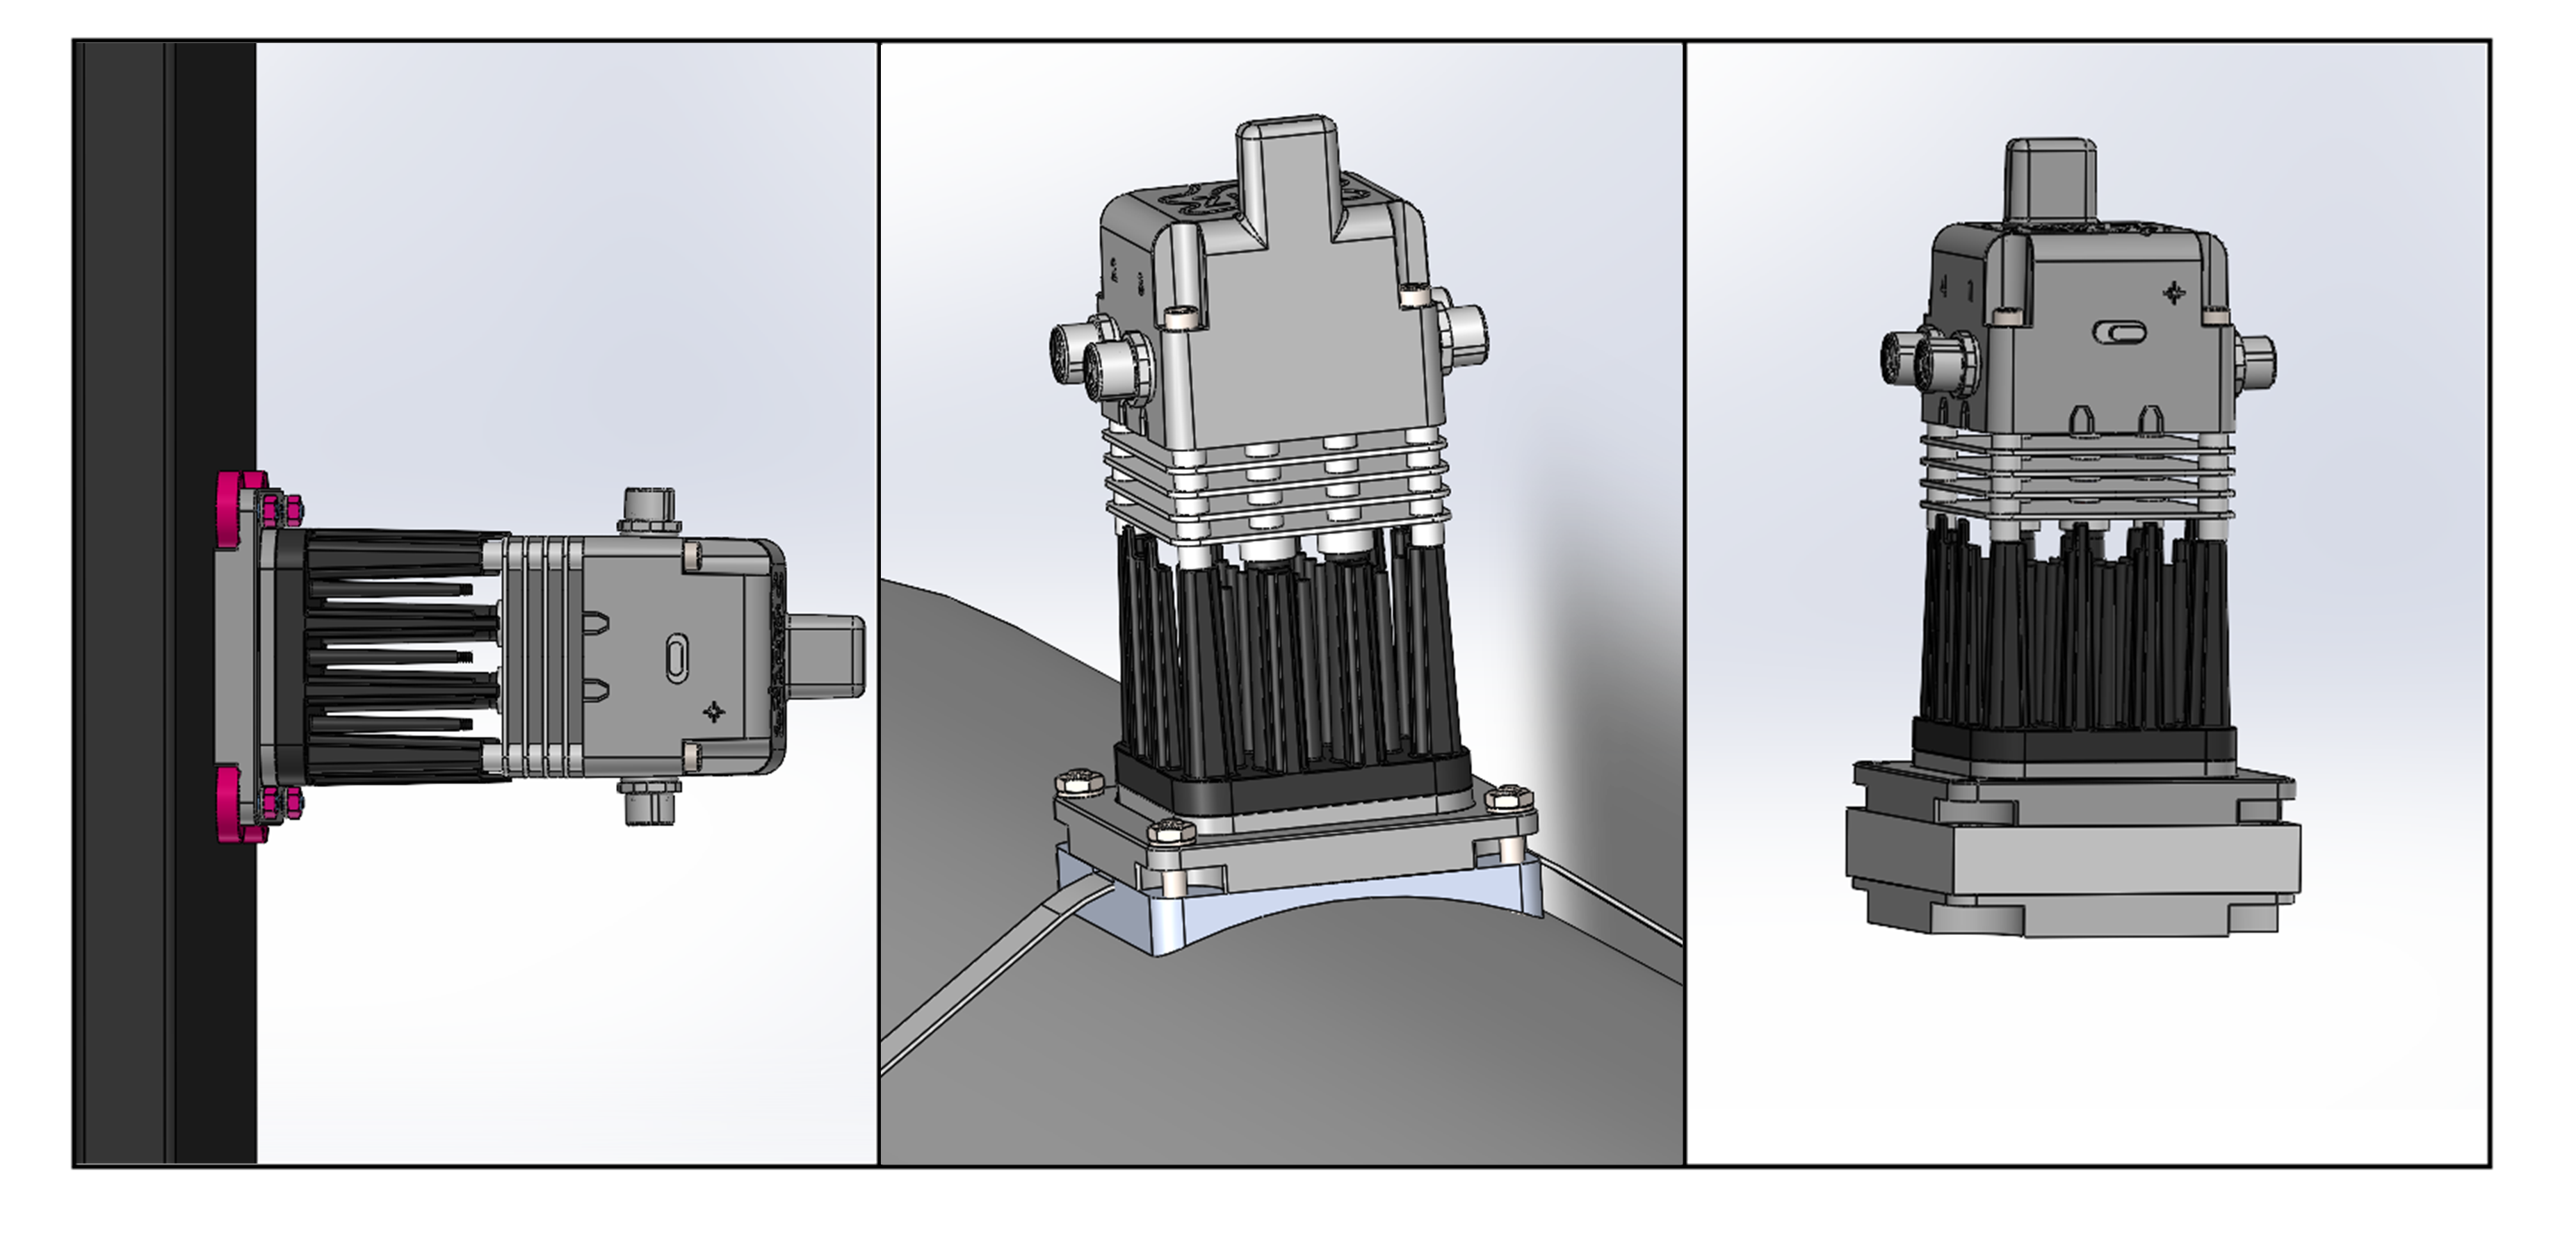
Mounting and fixation accessories
Depending on your installation, compatible options include (non-exhaustive): magnets, screws, cylindrical collars / metal collar adapters, and thermally conductive adhesive. Use only solutions suited to the surface temperature and environment. Detailed mechanical options are described in the product notice and in the Catalog.
First steps
- Check the product reference on the label and set the LoRaWAN region parameter* for your deployment before join.
- Register the device on your LoRaWAN network server using OTAA (Over-The-Air Activation). Create the device profile with the DevEUI printed on the unit label. Provision the same JoinEUI (or AppEUI) and AppKey on the network server and in the device with Harvestree Toolbox (not via downlink — see Configuration). Follow your operator’s or platform’s procedure (ChirpStack, The Things Stack, Actility, etc.).
- Optional — USB on the bench: connect USB and open Harvestree Toolbox to set network credentials, port measurements, and calibration, and/or to pre-charge the energy storage before field deployment. See Configuration.
- Power the device (thermal gradient ≥ 10°C or continued effect of USB pre-charge) and end the Toolbox USB session so the unit runs in radio mode. The device attempts OTAA join only when storage voltage reaches the configured minimum operating voltage (re-checked every 300 s while waiting). Verify a successful Join on the network server and that application uplinks are received and decoded (Payload decoding). See Operation for startup behaviour.
- Install the unit on the mounting surface so that the thermal gradient is sustained. Connect probes on the M8 ports only as allowed by the configured measurements. For probe choice and port behaviour, see Measurement ports and the Catalog.
What to verify
| Check | Expected result |
|---|---|
| Power / autonomy | The device starts; with 10°C gradient or USB it reaches operating state. |
| Network | The product joins LoRaWAN and uplinks are received and decoded (Payload decoding). |
| Sensors | Connected probes are recognized and produce expected values for the configured measurement types (Measurement ports, Catalog). |
| Alarms | No unexpected alarm; alarm behavior matches Operation configuration. |